
Decorating 101: Wallpapering – Prior to wallpaper hanging in 2026
Get the paste table out… It’s time to start measuring and cutting
So we have prepared the room and are ready to start working with our wallpaper. If you want to wallpaper any ceilings, we will cover this in a later blog (you would do this before any walls so you don’t splash or spill paste onto your newly decorated walls).
Measure the height of your walls, use a steel tape measure for this and use this measurement to cut your first piece from the roll.
Drop 1.
Lay out the first drop (drop is the name we give to each length of wallpaper) onto the paste table, making sure you have the pattern facing up so you can match up the next drop.
Now, before we make a cut, we need to balance the pattern for the ceiling line. We would want to minimise any major part of the pattern being cut through. So, for example, we wouldn’t want to see a flower stem with no bloom or a damask with no top section.
With your scissors at the ready, we have one more thing to consider and that is trimming waste. Allow an extra 50mm (2 inch) at both ends (the top and bottom for use when trimming) then make a fold or crease from where we will make the first cut.
This allowance is needed as you will probably discover your ceiling is higher or lower as you move from one corner of the room to another. This will ensure you get a neat finish down at the skirting board and up at the ceiling/coving.
Drop 2.
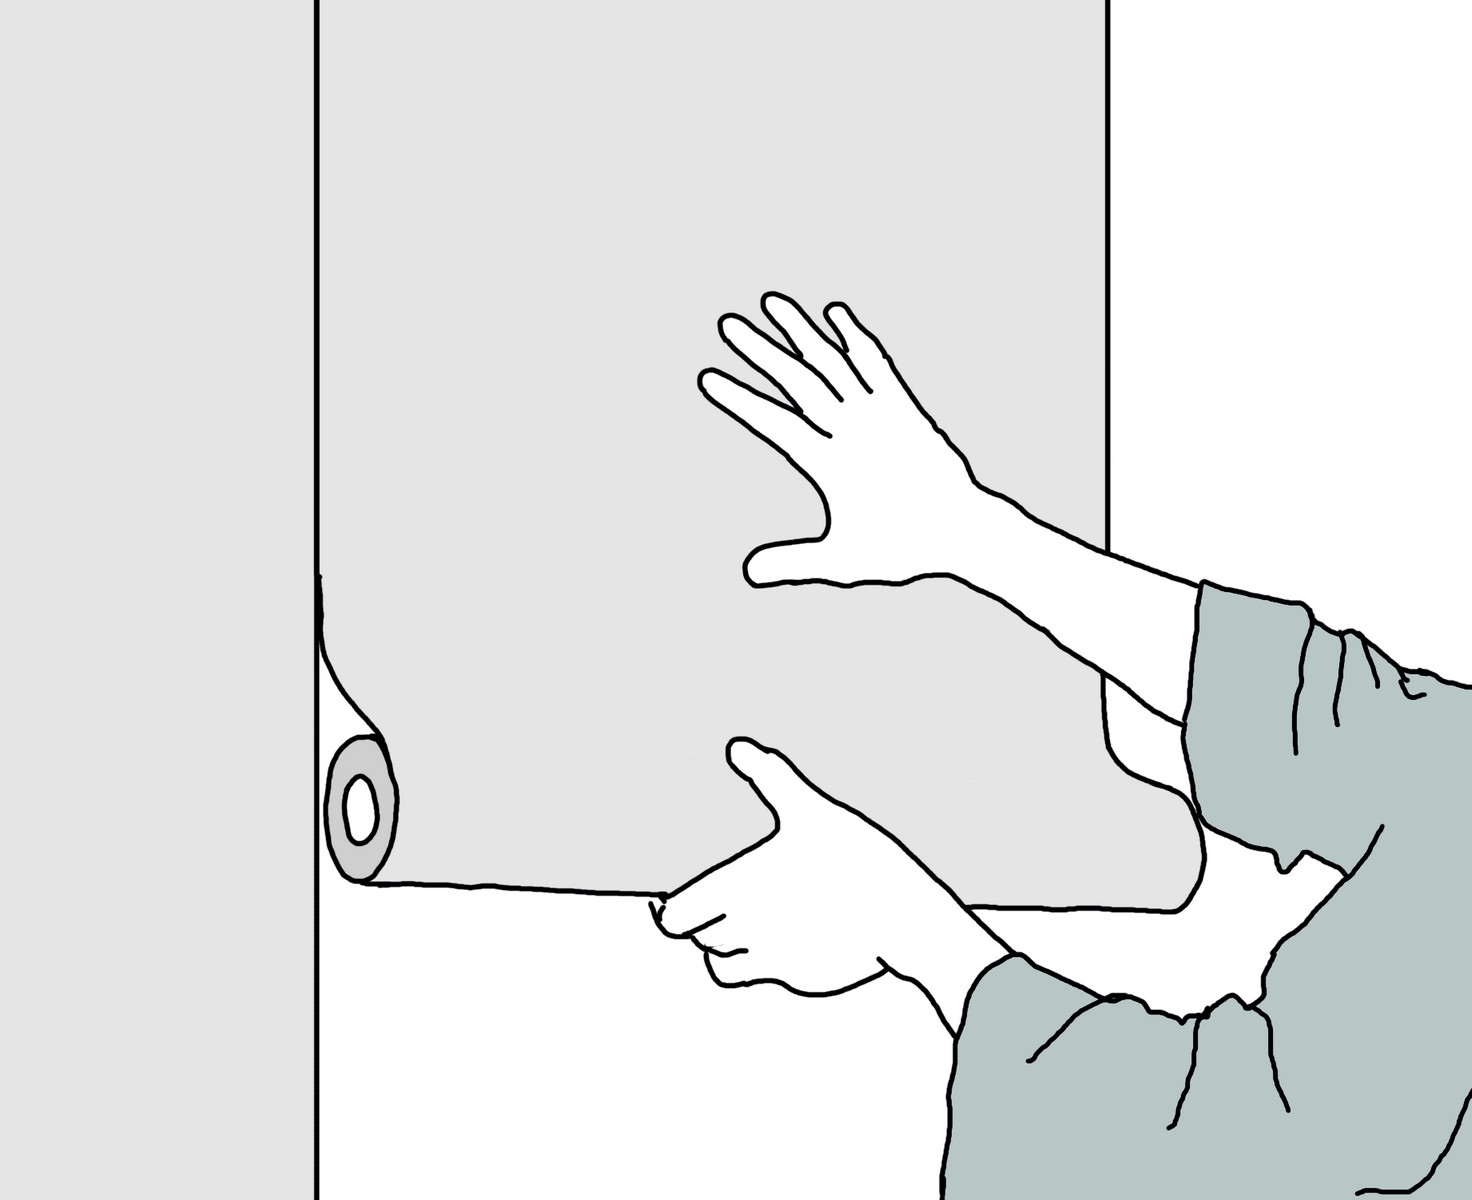
Unroll the paper from which the second drop is to be cut partially over drop 1, ensure the pattern is facing the same way so we can match this drop to our first.
Unroll the paper from which the second drop is to be cut partially over drop 1, ensure the pattern is facing the same way so we can match this drop to our first.
Move the paper along drop 1 until the patterns match and follow through, cut this second drop using the first as a guide for the length.
Each subsequent length is cut in exactly the same way, each matching the drop that has preceded it.
Not all wallpapers match in the same way
Here we need to mention that not all wallpapers have a straight match across the width of the roll, the above details explain how to cut wallpaper with a straight match.
Wallpapers may also be free of matching, where you simply cut your lengths to the appropriate drop size and hang. Be careful of alternate hanging (reverse hanging) here as these need a little more thought when hanging.
Look for an alternating arrow head emblem on your roll label, this means you need to mark the back of each length (or snip a corner off) on the same end of each drop you prepare. Then, when hanging, we can ensure that the mark/cut is near the ceiling on drop 1, near the floor on drop 2, back near the ceiling on drop 3, then again near the floor on drop 4, continuing until your room is complete.
The idea behind this technique is to keep the colour, texture and tone very even, plus this will also aid in disguising the joins.
There is also a drop match, often called a half drop match, which rises as it extends across the width of a roll. With a drop match, your second length will begin half a pattern repeat further along the roll, drop 3 will match drop 1, drop 4 will match drop 2.
Minimising roll wastage
By working with two to three open rolls of wallpaper at the same time. You may find that you can minimise wastage as each roll will have been cut at varying positions in the pattern repeat. So, try to cut each length from a separate roll (ensure you only use one batch of wallpaper when using this technique).
To keep things running smoothly, you should try to create a routine when paper hanging, such as:
- Cut all of your drops first (so you only need to measure once, unless you have a sloping ceiling)
- Keep all your waste cuts as these may be useful when decorating over doors and windows, or below windows and behind radiators.
- Paste three drops of wallpaper at a time and by the time you have finished pasting, your first drop should be ready for hanging. Soaking times do vary, so check the reverse of the label prior to pasting. You may only get two drops pasted ready in the suggested soak time, or you may be able to paste more.
For non-woven (paste the wall) wallpapers, it is often advantageous to have your cut lengths reverse rolled (inside out), with the pattern on the inside held together with an elastic band. This will save you time when hanging and help ensure the face of your wallpaper remains free of adhesive.
Pasting Perfection – Step by step.
So we skipped over pasting a little there, let’s give you some top tips for pasting perfection.
1. Lay your drops out, stack them neatly on your paste table pattern side down and push them up against the edge of the table, furthest from you and the extra length hanging equally over each end of the table.
2. Slide the top drop so the end of the length is lined up with the end of the right hand side of the table. Now paste to the top drop, working from the centre of the drop outwards (always paste outwards as this will stop any adhesive from finding its way onto the front) in a herring-bone pattern.
3. Once you have worked your way along the piece up to the end of the table (about two thirds of the drop), slide the drop towards you (the front edge of the table), ensuring the right hand end is not overhanging the table. Continue pasting outwards from the centre of the strip again in the heringbone style.
4. When this section is completed, fold the drop over onto itself, pasted side to pasted side.
5. Now slide your drop to your right, so the edge of the wallpaper is no longer overhanging the table. Continue pasting from the centre out, any paste that ends up on the lining of the drop underneath will not affect it, so do not worry. Once complete, fold this end onto itself again, paste to paste.
6. You can now fold this drop up in a concertina (zigzag/fan) and put it to one side while soaking.
If it is a warm day or you notice the edges of the rolls are curling during pasting, do not concertina the strips. Once initially folded, roll the wallpaper inwards from the edge like a scroll. (If the temperature is particularly high, pop the wallpaper into a plastic bag while soaking to retain maximum moisture.
We have created a printable guide, 8 steps to perfect pasting. This features step-by-step advice with graphics to show you ideal positioning on the paste table. Click here to download.
Next time….Hanging techniques
Evergreen Reviewed 17/12/2025

Comments are closed here.